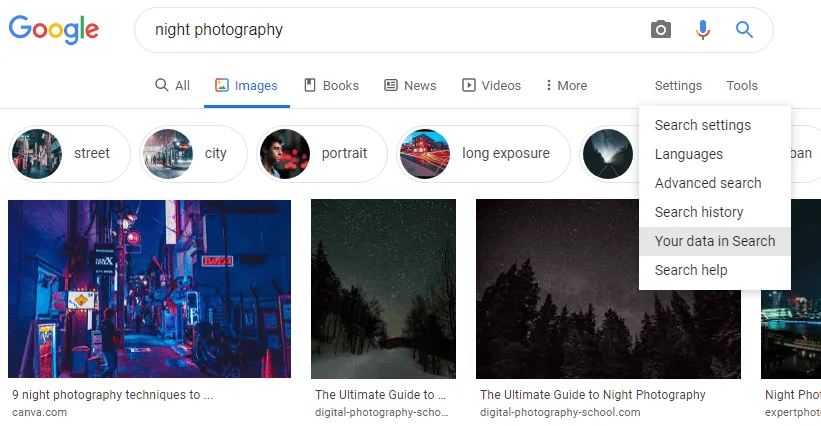
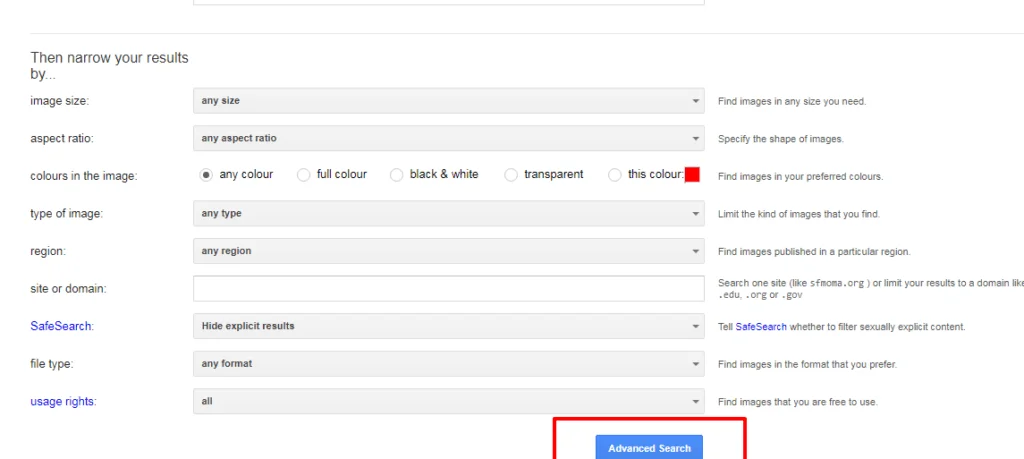
Click on the menu and choose, “Free to use or share, even commercially”
You can follow the same process to find the images and use them in your blog posts and apply for Adsense Approval, you won’t face any Copy-write issues.
Design your blog
The look of your blog does matter as well, if your site has no structure and it looks messy, even a single user will not want to visit it, the Adsense is a matter of far.
It doesn’t mean you should have a very fancy site design, you can use any pre-made template which is designed for a blog.
The look of your home pages shouldn’t like a portfolio and contains information only about your business. Adsense shows ads on the informational, educational, and entertaining content, make sure your home page is rich with a blog post on your niche topics around it.
Add custom pages
Till, now if you think you have done everything right that I have mentioned in the post above. But still, you are unable to get the Adsense approval, it’s the important factor to consider, you missed out the adding important custom pages.
Google Adsense made it necessary for a blog to have the following costume pages.
About us
In the about us section, write what your blog is about, and who you are, what you do.
It isn’t necessary to follow a specific pattern or write a perfect brand story, you just need to describe your blog. If you have no ideas, how to write about us pages, visit other sites and see what they have mentioned in the about us section but don’t copy their page as it as, just take an idea from there and write your own about us section.
This page can be as short as two-sentence, you just need to add your contact details such as Email address (business email with your blog name is a must, don’t use personal Email, it is amateurish) and phone number (optional, not necessary).
Based on the type of your blog, you can add additional details such as business hours, address, map and contact form, etc. (optional not required)
Privacy & Policy
This page must contain certain theoretical information related to rules and regulations on the internet.
There is no need to write these pages on your own, you can copy past these pages directly from any third party website. But make sure you don’t copy the page of any business which contains their own policies.
If you are unable to find the Privacy & Policy page, download it from here and use it on your blog to Adsense approval.
Make a copy of this page and past it into the Privacy & Policy page of your blog, and you don’t need to change anything.
Check your site Is not banned
If you have recently bought the domain and hosting, your site is new then it’s obvious you are free to apply for Google Adsense but if you have bought the site form someone else, make sure to check the site if the site not banned previously for violating the Adsense policies and guidelines.
IF you are buying a website to use Google Adsense on it, visit this awesome tool called www.bannedcheck.com and check the website URL.
Adsense doesn’t permanently ban most of the sites but it’s always better to check it before you buy.
Use clear navigation
Google Adsense department get tons of application request of approval and it’s not possible for them to check every website manually so they use bot crawlers to check the site on automation mode.
Your website must have a clear navigation menu at the header section, make sure the menu is not hidden behind other content, anyone should be able to see it at the first look on your site.
Robot crawlers bots use this navigation menu to go through the categories and check posts.
If you use clear navigation, it will be easy for bots to check your blog and it will also help the users to navigate comfortably.
Domain age
Adsense has a special domain age condition for the approval process in countries like India and China and other Asian countries.
If you belong to any one of these countries, make sure your site age is 2 months old at least.
This is the maximum time limit, you may get early approval but it totally depends on the Adsense department how much time they take to approve your application.
If your site is new, it’s always better to wait at least two months before applying for the AdSense, if you don’t want to get rejected for early approval.


